Workflow
The core Blending to Unreal asset workflow, with material parameters and texture preparation.
How the workflow is organized
The tabs group tools by task — they are not a strict step-by-step order. Start with an asset structure, build the asset in LOD0, then use Materials, LOD, Collisions, Placement and Export only when you need them.
You may also find useful helper operators under Miscellaneous.
Start with a structure
In Setup → Collection Structure, name the structure after the asset and click Create. Build the object you want to export inside its LOD0 collection.
Materials & textures
Material and texture setup is often the first preparation step once the base asset exists.
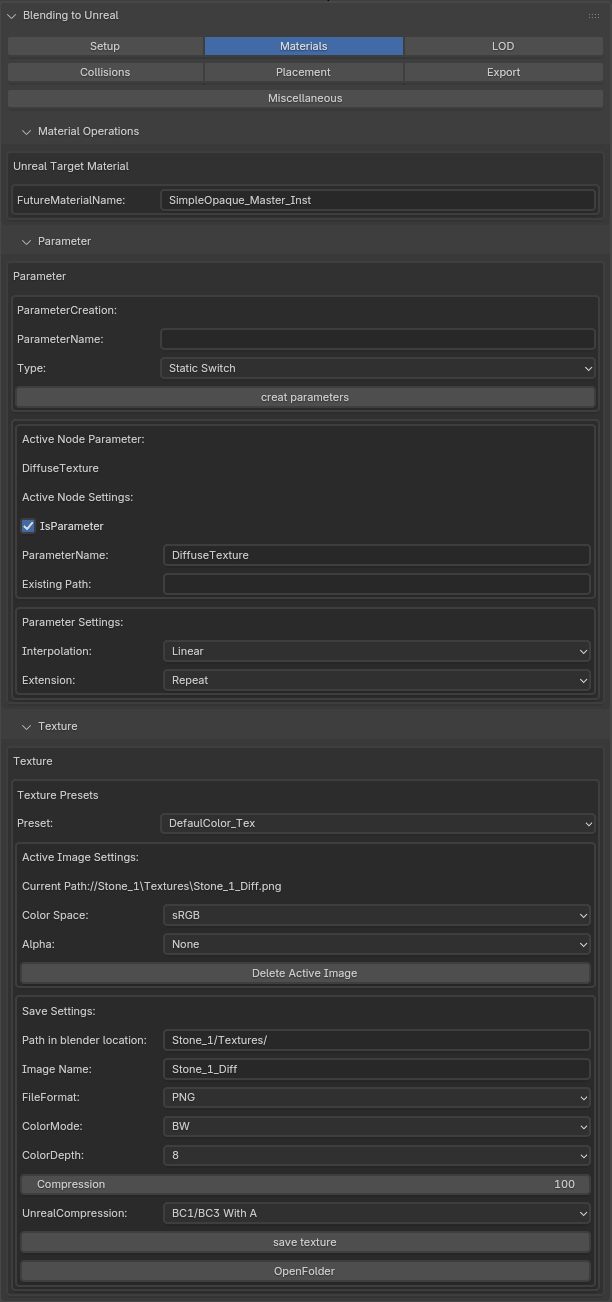
Unreal target material
Set FutureMaterialName to the Unreal Material Instance this Blender material should use or become. This should be a Material Instance, not the Master Material itself.

Blender and Unreal do not build materials in exactly the same way. Unreal commonly uses a Master Material with exposed parameters, then Material Instances store the values for each asset. You can build your Blender material with that target setup in mind instead of trying to reproduce every Unreal node one-to-one.
The Unreal Bridge also includes a supported Material Converter → for translating compatible Blender material data.
Material parameters
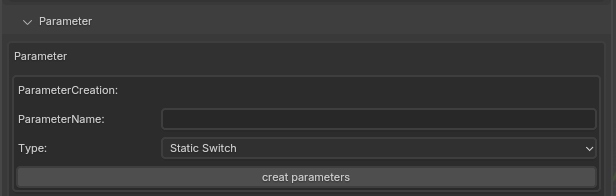
Parameters exposed by an Unreal Master Material can also be defined on the Blender material. Enter a name, choose the parameter type and create it.
Select a parameter node to see and edit its stored parameter settings.
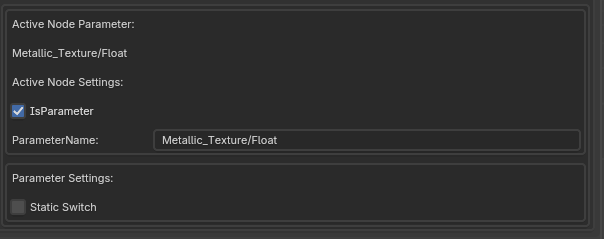
Texture parameters: Existing Path
Texture parameters have one additional option. If the texture already exists in Unreal, enter its Unreal asset path in Existing Path, for example /Game/MyAsset/Textures/T_Texture. Leave it empty when this image should be exported from Blender.

Texture settings
The settings above belong to material parameters. The Texture section instead stores settings for the active image itself and helps save that image in a predictable game-ready format.
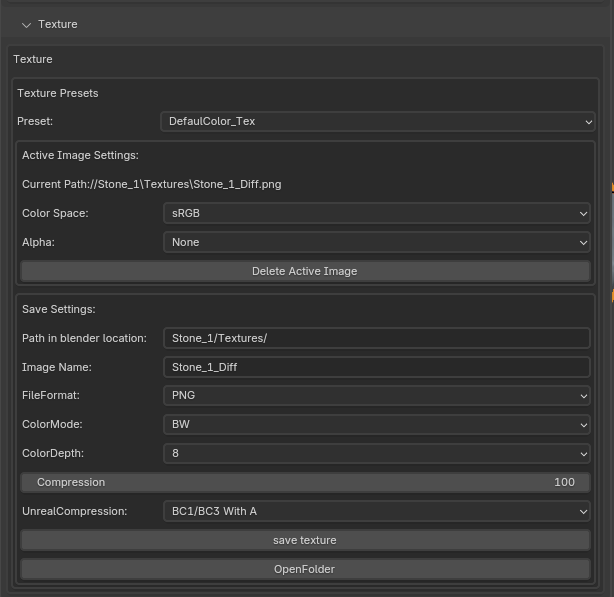
I classified the common image types into presets. In most cases, select the preset that matches the texture and leave the generated settings as they are.
Texture presets
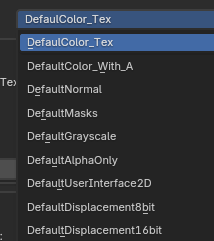
| Preset | Use | Stored as |
|---|---|---|
| DefaulColor_Tex | Standard color/albedo texture without transparency. | RGB · sRGB · 8-bit · no alpha · compressed |
| DefaultColor_With_A | Color for translucent materials where RGB must remain available under transparent areas. | RGBA · sRGB · 8-bit · channel-packed alpha · compressed |
| DefaultNormal | Normal maps. | RGB · Linear · 8-bit · no alpha |
| DefaultMasks | Packed non-color data such as roughness, metallic or other masks. | RGBA · Linear · 8-bit · channel-packed alpha |
| DefaultGrayscale | Single-channel data. | R · Linear · 8-bit · uncompressed |
| DefaultAlphaOnly | Opacity data for masked materials when only alpha is needed in Unreal. | RGBA · sRGB · 8-bit · straight alpha · compressed |
| DefaultUserInterface2D | UI textures or pixel-accurate images, often used with closest interpolation. | RGBA · sRGB · 8-bit · straight alpha · uncompressed |
| DefaultDisplacement8bit | Smaller or lower-precision geometry displacement. | R · Linear · 8-bit · uncompressed |
| DefaultDisplacement16bit | Large or precision-sensitive geometry displacement. | R · Linear · 16-bit · uncompressed; very large files |
Saving textures
- Delete Active Image removes the active image from Blender. It does not delete the file from your drive.
- Path in blender location is combined with the asset/content path from Export Settings → Output paths.
- The image name is generated from the asset and preset. Rename special packed/data textures when a more descriptive name is useful.
- The preset normally resolves file format, color mode, bit depth, alpha and compression for you.
- Save Texture creates the required folder path relative to the saved Blender file. Give the
.blendfile a dedicated save location before saving textures. - Open Folder opens the folder containing the active image.